Seems straightforward to many of us New Orleanians: build one story on top of another story, hold it back from the front of the home, clad it similarly to the rest of the home and voila - the silhouette of a camel's hump on a traditional Victorian home, one of New Orleans' most unique archetypes. When our clients asked for more square footage for their growing family in the Uptown neighborhood of New Orleans, there was no question that a camelback renovation should be implemented. What was in question was what could be salvaged on the first floor, so renovation costs don't escalate. In this transformation, we explore the challenges and design approaches that led us to the creative solutions and strategies.
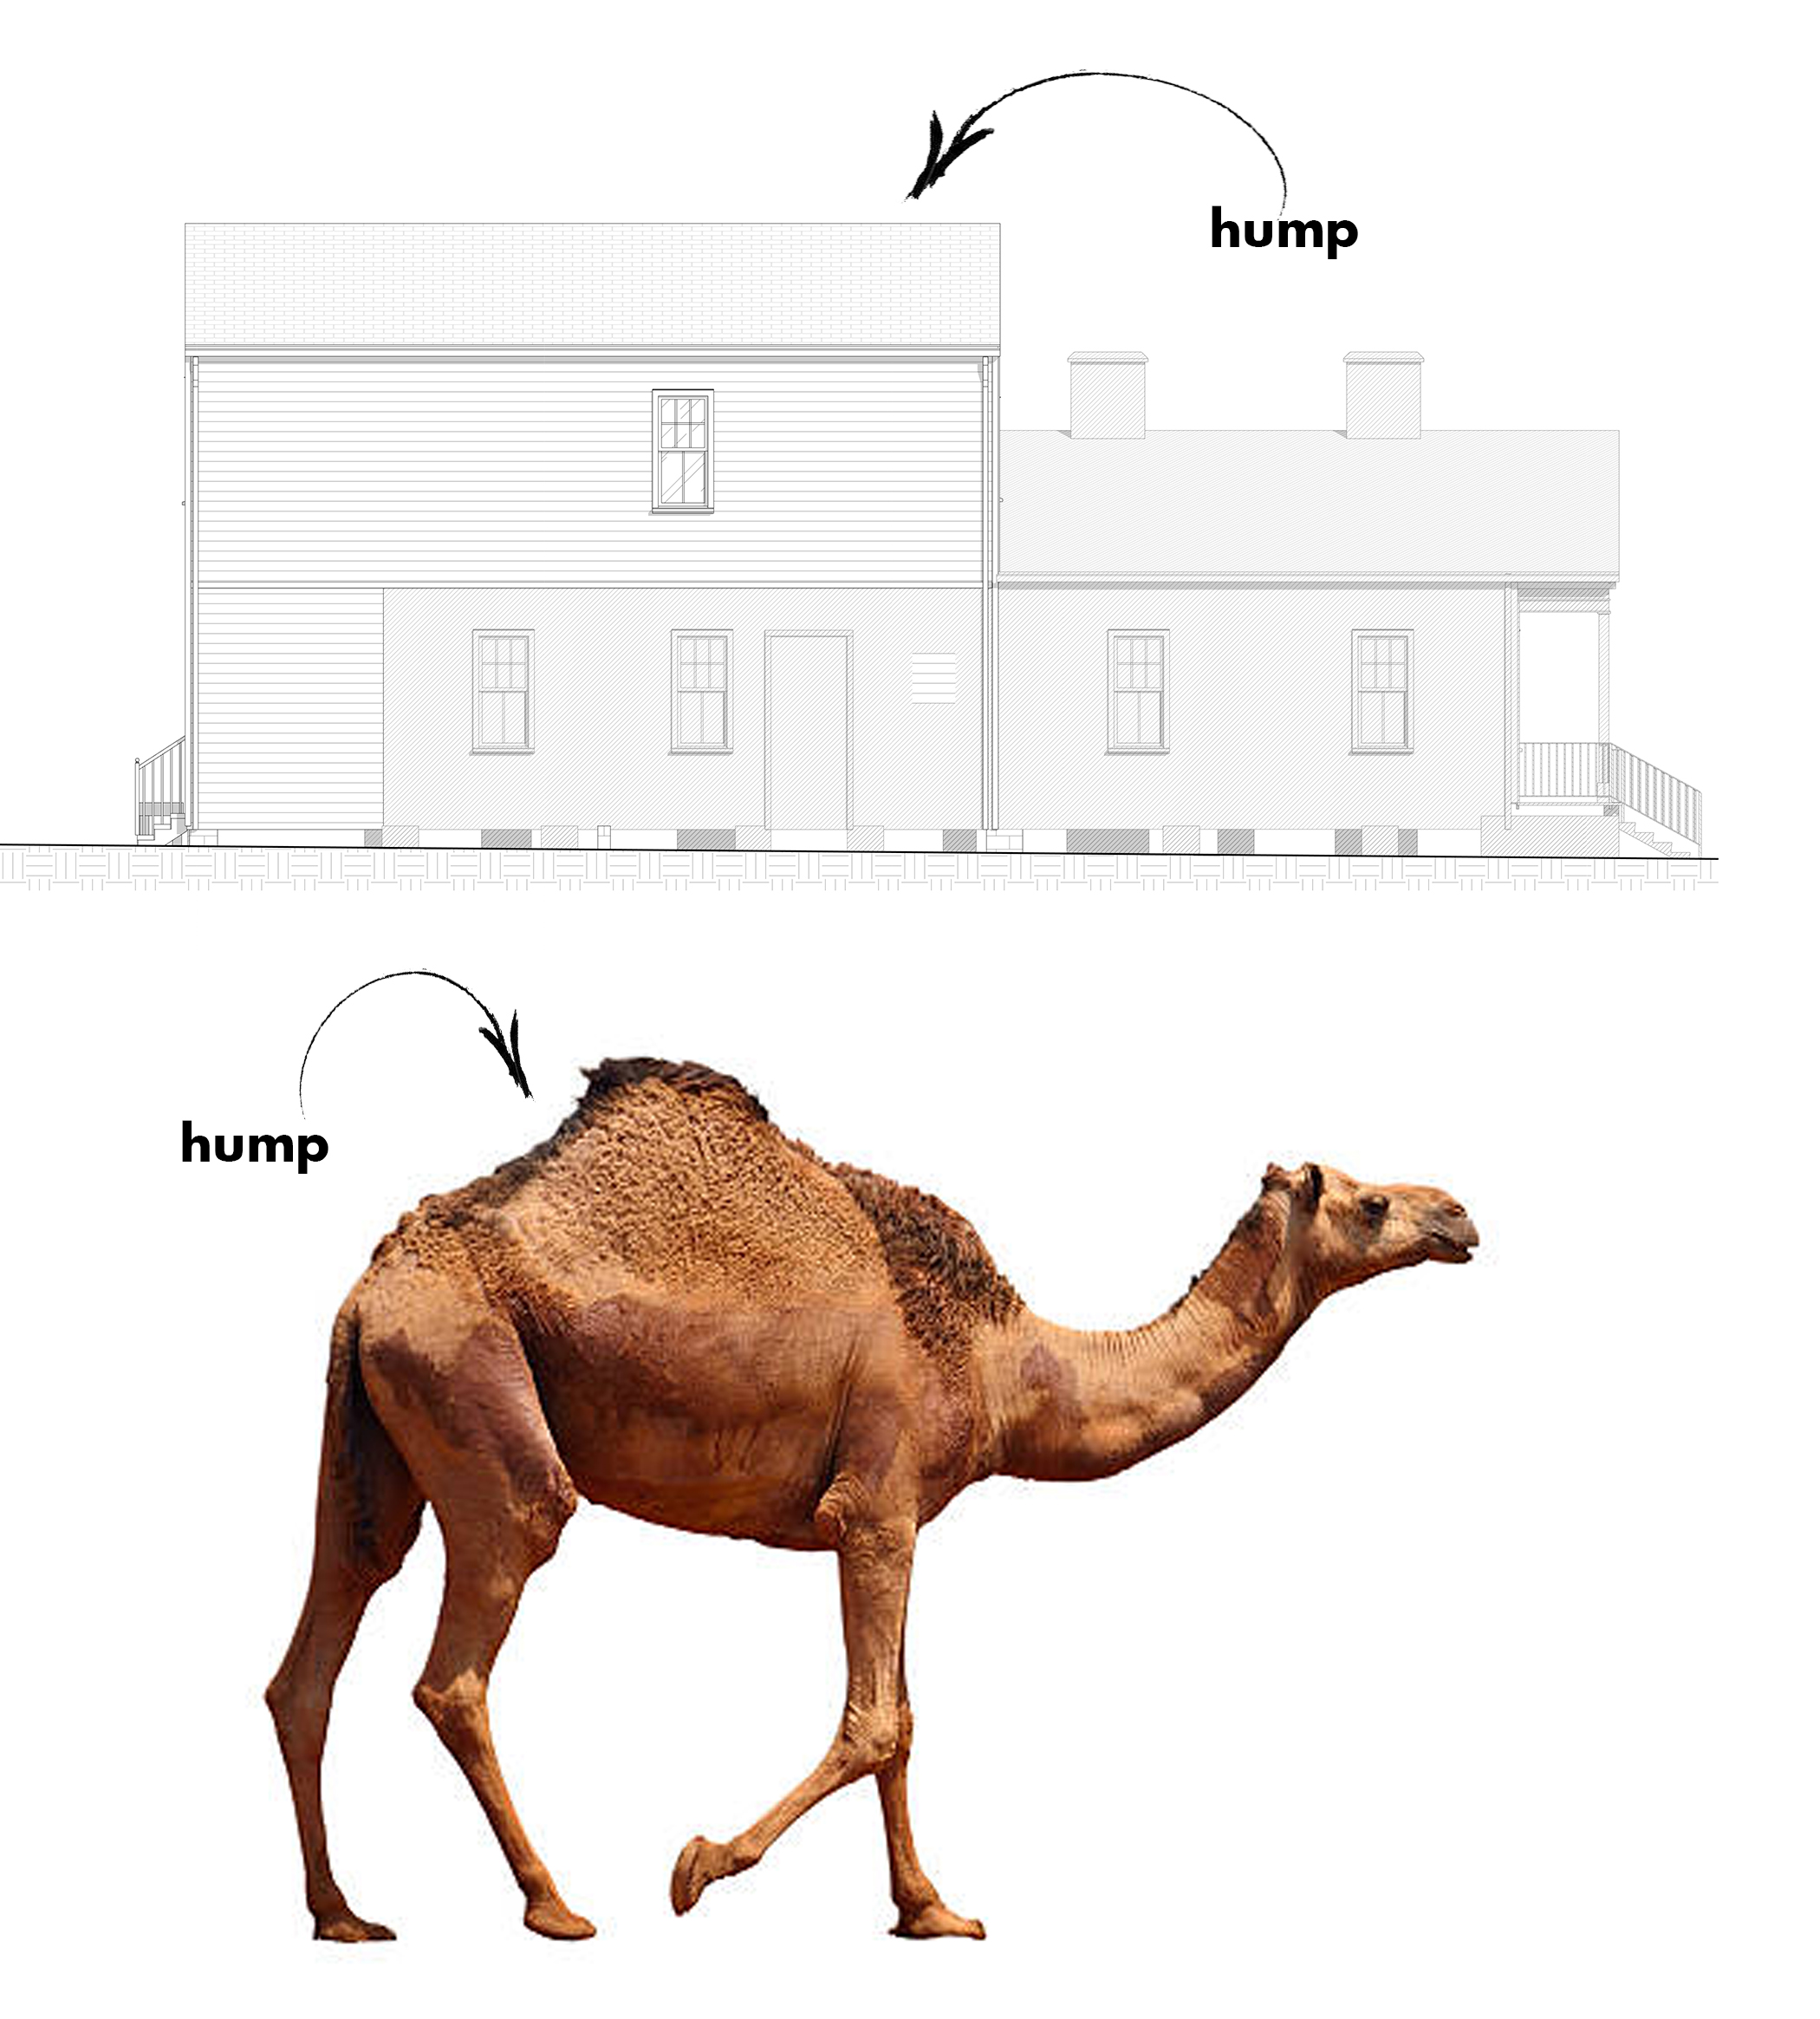
Illustrations showing where the New Orleans' Camelback got it's name

Existing Single-Story Home
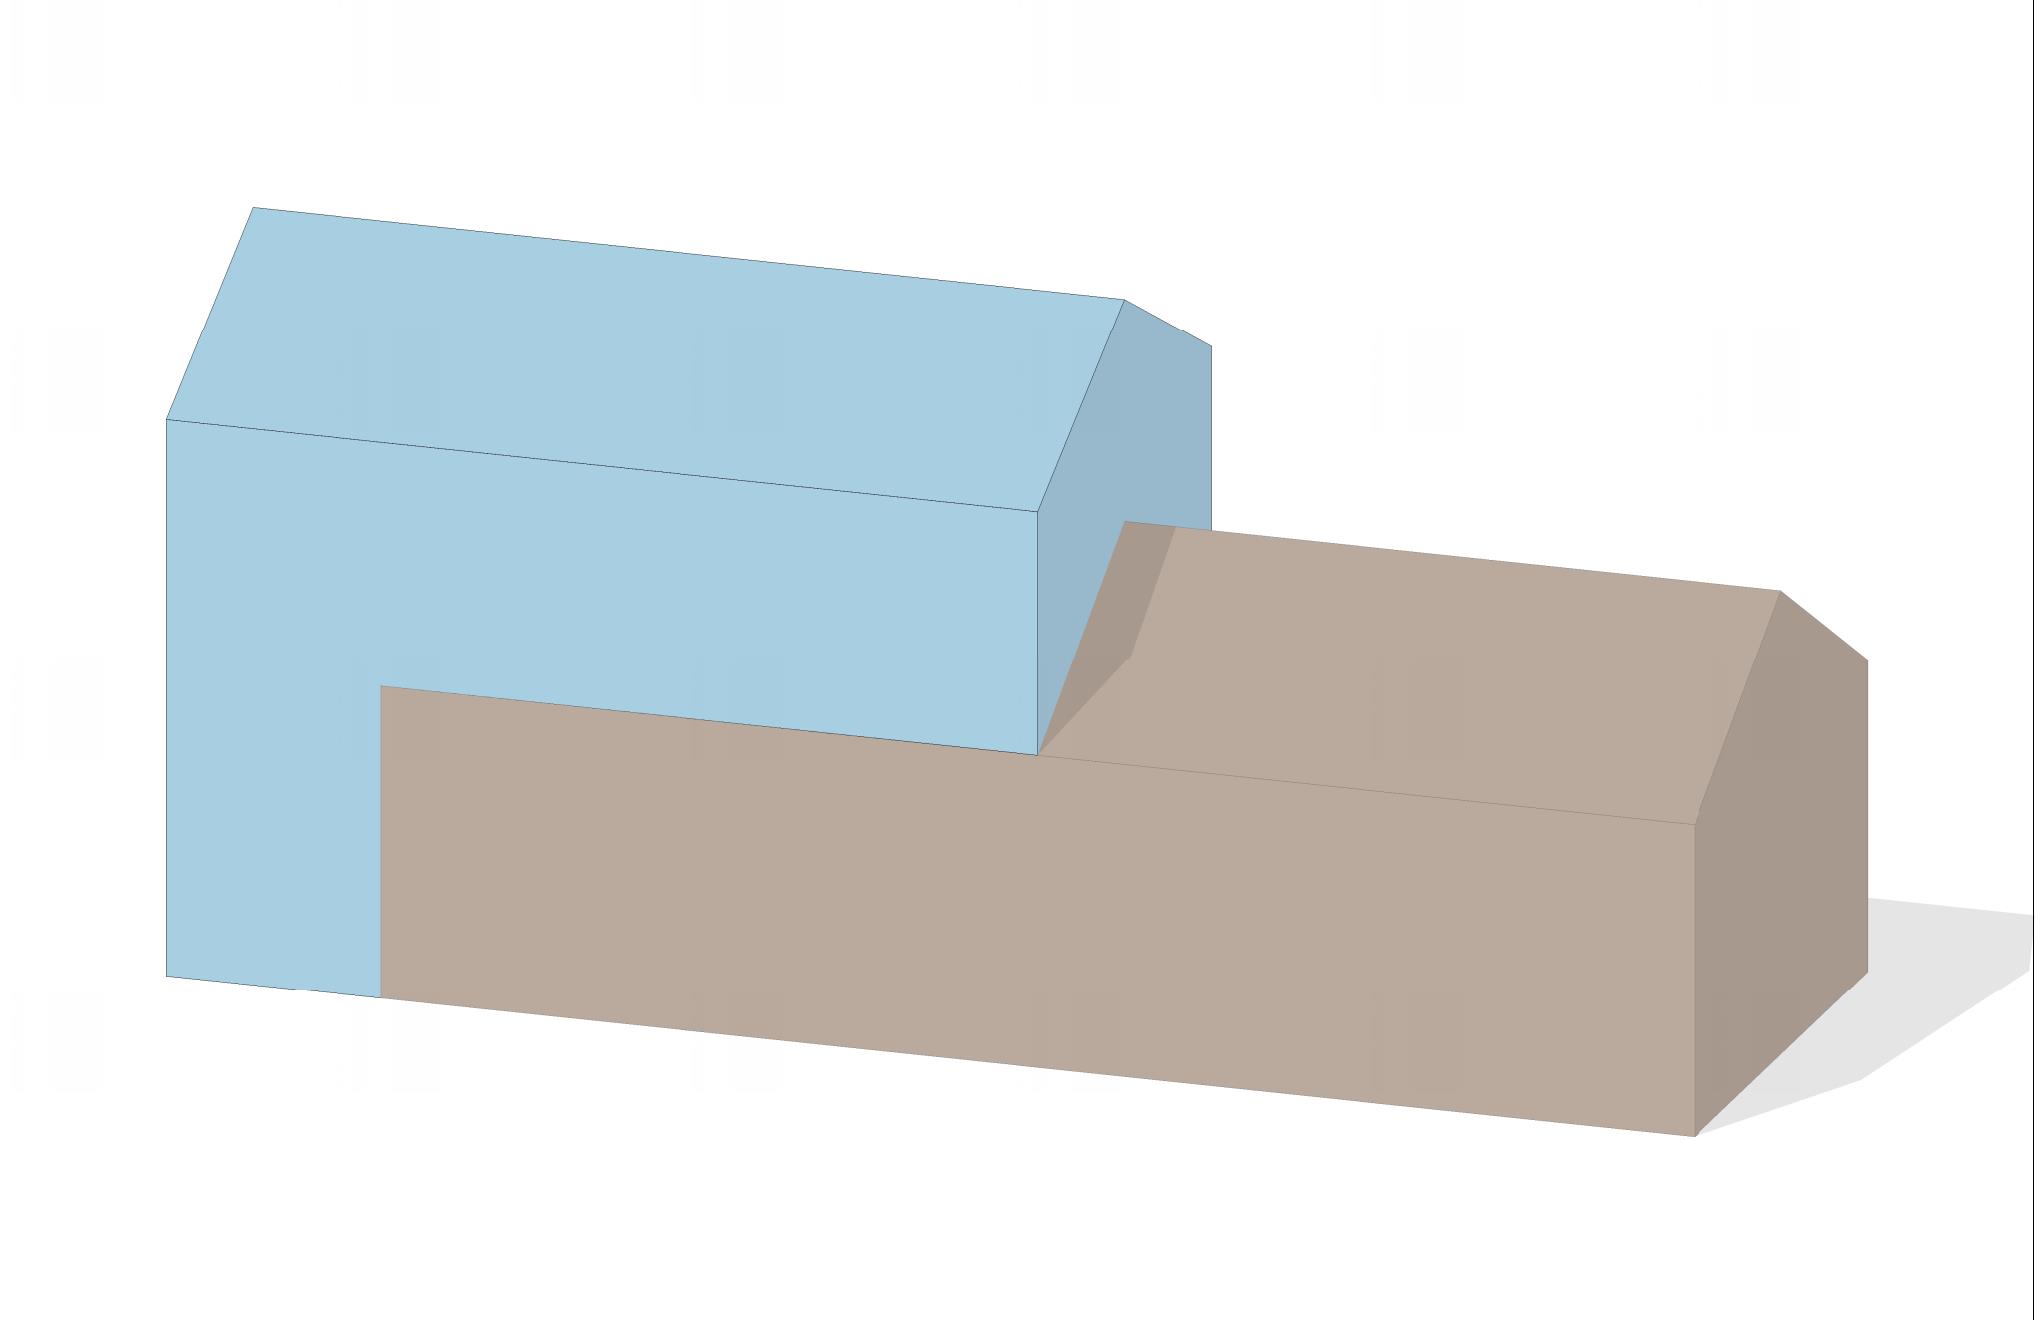
Proposed Camelback Addition
The Challenges:
1. Wind Loads
Guidelines for designing for wind loads in the building code increase by the decade (possibly due to stronger coastal storms). Engineering the camelback requires a solution addressing not only gravity loads (you and your stuff) from the new story and roof structure, but also the lateral, shear and uplift loads from the wind. This is what can make a camelback conversion tricky. Slapping a story on top of an existing story won't always work. Depending on many factors unique to your house, like existing stud size, stud length, and distance between the load bearing walls, wind loads may be too great for those existing studs resulting in, at worst, structural failure in a wind event, or at least, interior finish damage from movement. All this means we need to find new ways to distribute loads if we plan to keep those existing exterior walls untouched.

Illustration of dead loads and wind loads

Typical Load Bearing Walls in Camelback Construction
2. Cost
Complete guts can be expensive. Working around existing walls and finishes can also be expensive. Where do you demolish and where do you save? These are some of the challenges faced when building a camelback.
3. Air Conditioning
A modern amenity like air conditioning is not something that many of the old victorian homes have planned for. Now with a second story where the ductwork used to be, the tall first floor ceilings either need to be dropped or soffits need to be created to run ductwork passages to provide the first floor with cooling and heating.
Our Design Approach:
Our design approach aims to address the challenges we were faced with and still provide a beautiful and functional home for our clients. After settling on a schematic plan with our clients, we started investigating structural strategies, since this would adversely affect cost.
1. After reviewing the new plan with our structural engineer, we found that if the 2x4 stud walls were to remain, they would need to be reinforced between every stud due to the increase weight of the story above and wind load. The structural engineer recommended replacing the exterior load bearing walls with 2x6 stud walls, but that would mean replacing the exterior siding and interior drywall for a large portion of the home. Therefore, we explored distributing the load to interior load bearing walls that were already receiving new finishes.
2. The first floor ceiling joists would need to be replaced with at minimum 2x10s to provide strength to the new floor above. Since the ceiling attached to those joists will likely be demolished, we decided to run the new floor joists parallel to the exterior walls, creating a new load bearing wall on the rear of the home and new load bearing walls on existing interior walls that we would reinforce. Adding studs to a wall we were reconfiguring and refinishing anyway allowed us to avoid redo-ing exterior walls with old cypress exterior siding, and upgrading those walls to 2x6 studs.
3. Our new load-bearing walls needed more foundation support due to the increase in loads. In our structural strategy, we upgraded the old corbelled brick footings under these walls to new CMU piers with a concrete grade beam. Simpson Strong-Tie specialty screws hold down the new framing to the new foundations from entirely within the wall, without needing to add straps and clips on the exterior where this is typically done. We found this product to be a great solution for renovations to avoid re-skinning the exterior to meet wind loads per code.

image showing load bearing walls

image showing air conditioing
4. With our new ceiling joists run north-south, we can run ductwork between the joists as opposed to running the ductwork under the joists. Instead of lower ceilings or soffits running along the perimter, we are able to keep the ceilings tight to the underside of joists, except in a few locations where we need to pass ductwork under beams.
Conclusion:
The Camelback is a great way to add square footage to your existing urban home. The easy solution is to demolish all walls under the second floor addition and build anew all structural framing from foundation to roof...but easy isn't always the answer. The Camelback seems simple in theory but really needs to be studied case by case in order to determine the best structural strategy for your particular house. Not all Camelback projects need to employ this particular strategy, but early design planning and creative problem solving can save headaches and cost arising out of unforeseen conditions later down the road.
Feel free to send me your comments or questions about this Blog post and let me know if you want to hear about any other subjects pertaining to New Orleans Architecture!