We are in the final stages of finishing up our own personal renovation project. This part - the finish carpentry phase - tends to take a long time when you are DIY! Today’s blog post is a follow up to our previous blog post about IKEA cabinetry. If you are interested in renovating your kitchen, you may want to check out Part 1 to this two-part blog series.
Before we jump into the details about creating an IKEA kitchen, I wanted to share some “before” and “almost after” photos of our kitchen project.

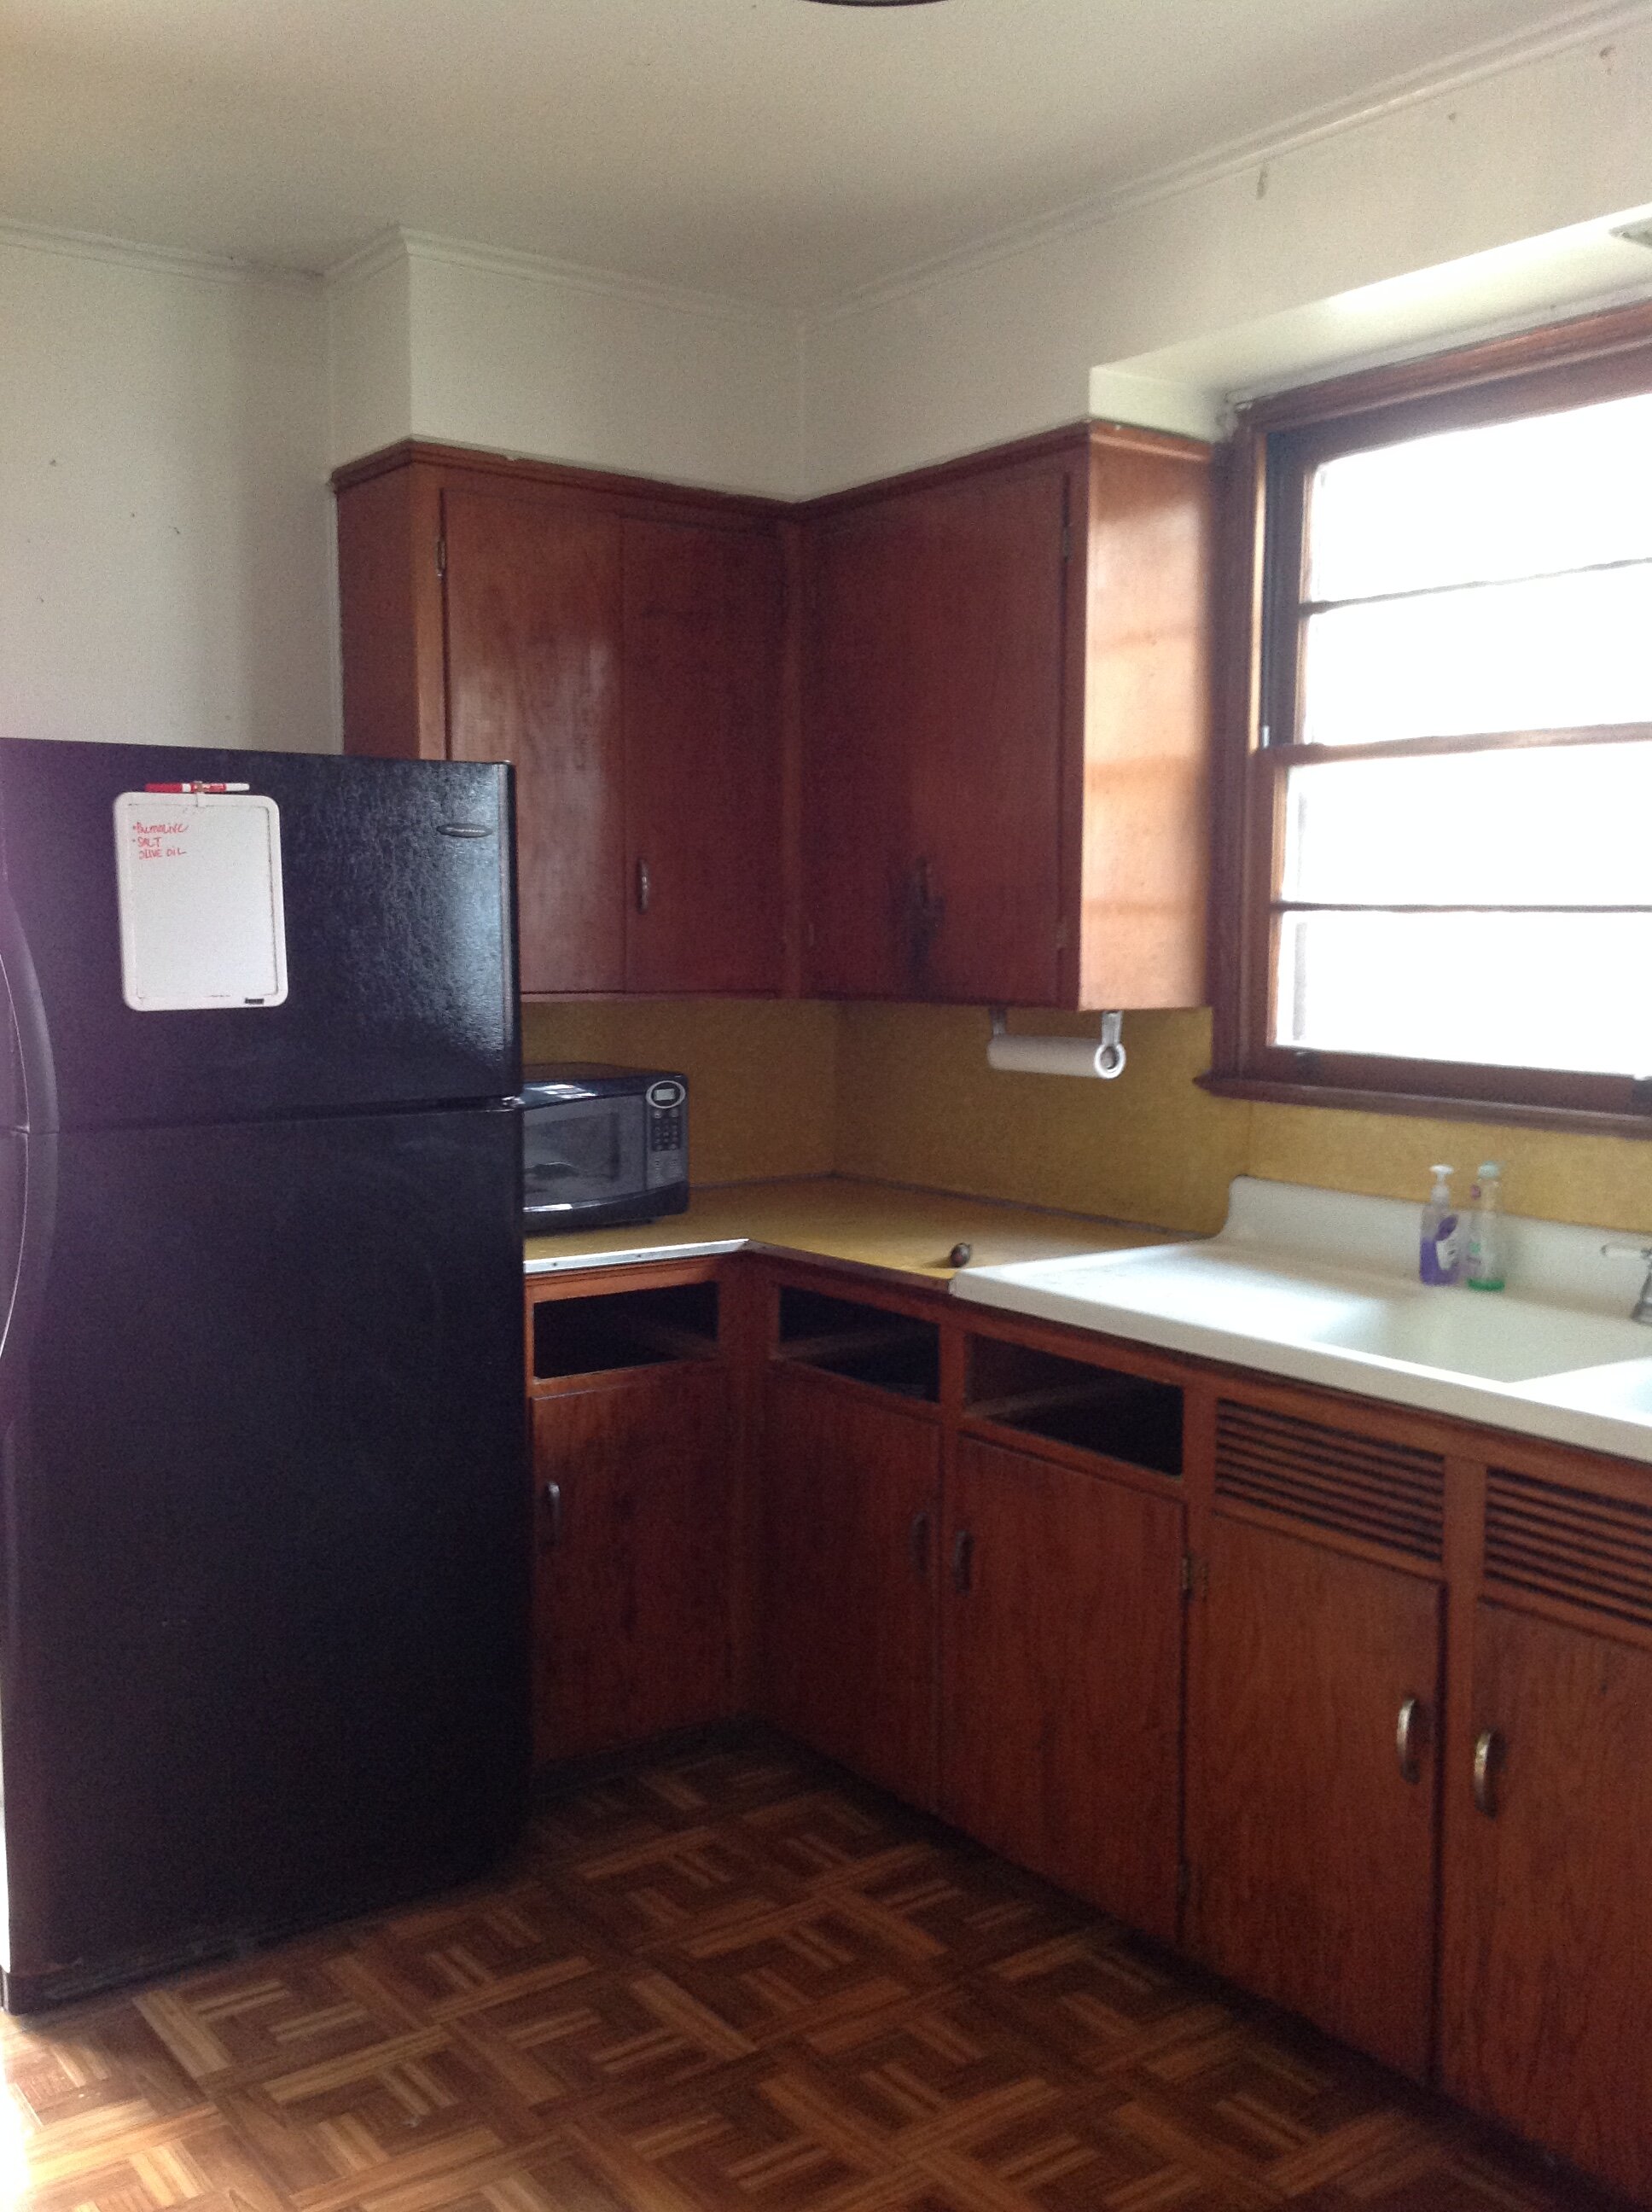
BEFORE

ALMOST AFTER, we still need to add fillers and tile backsplash
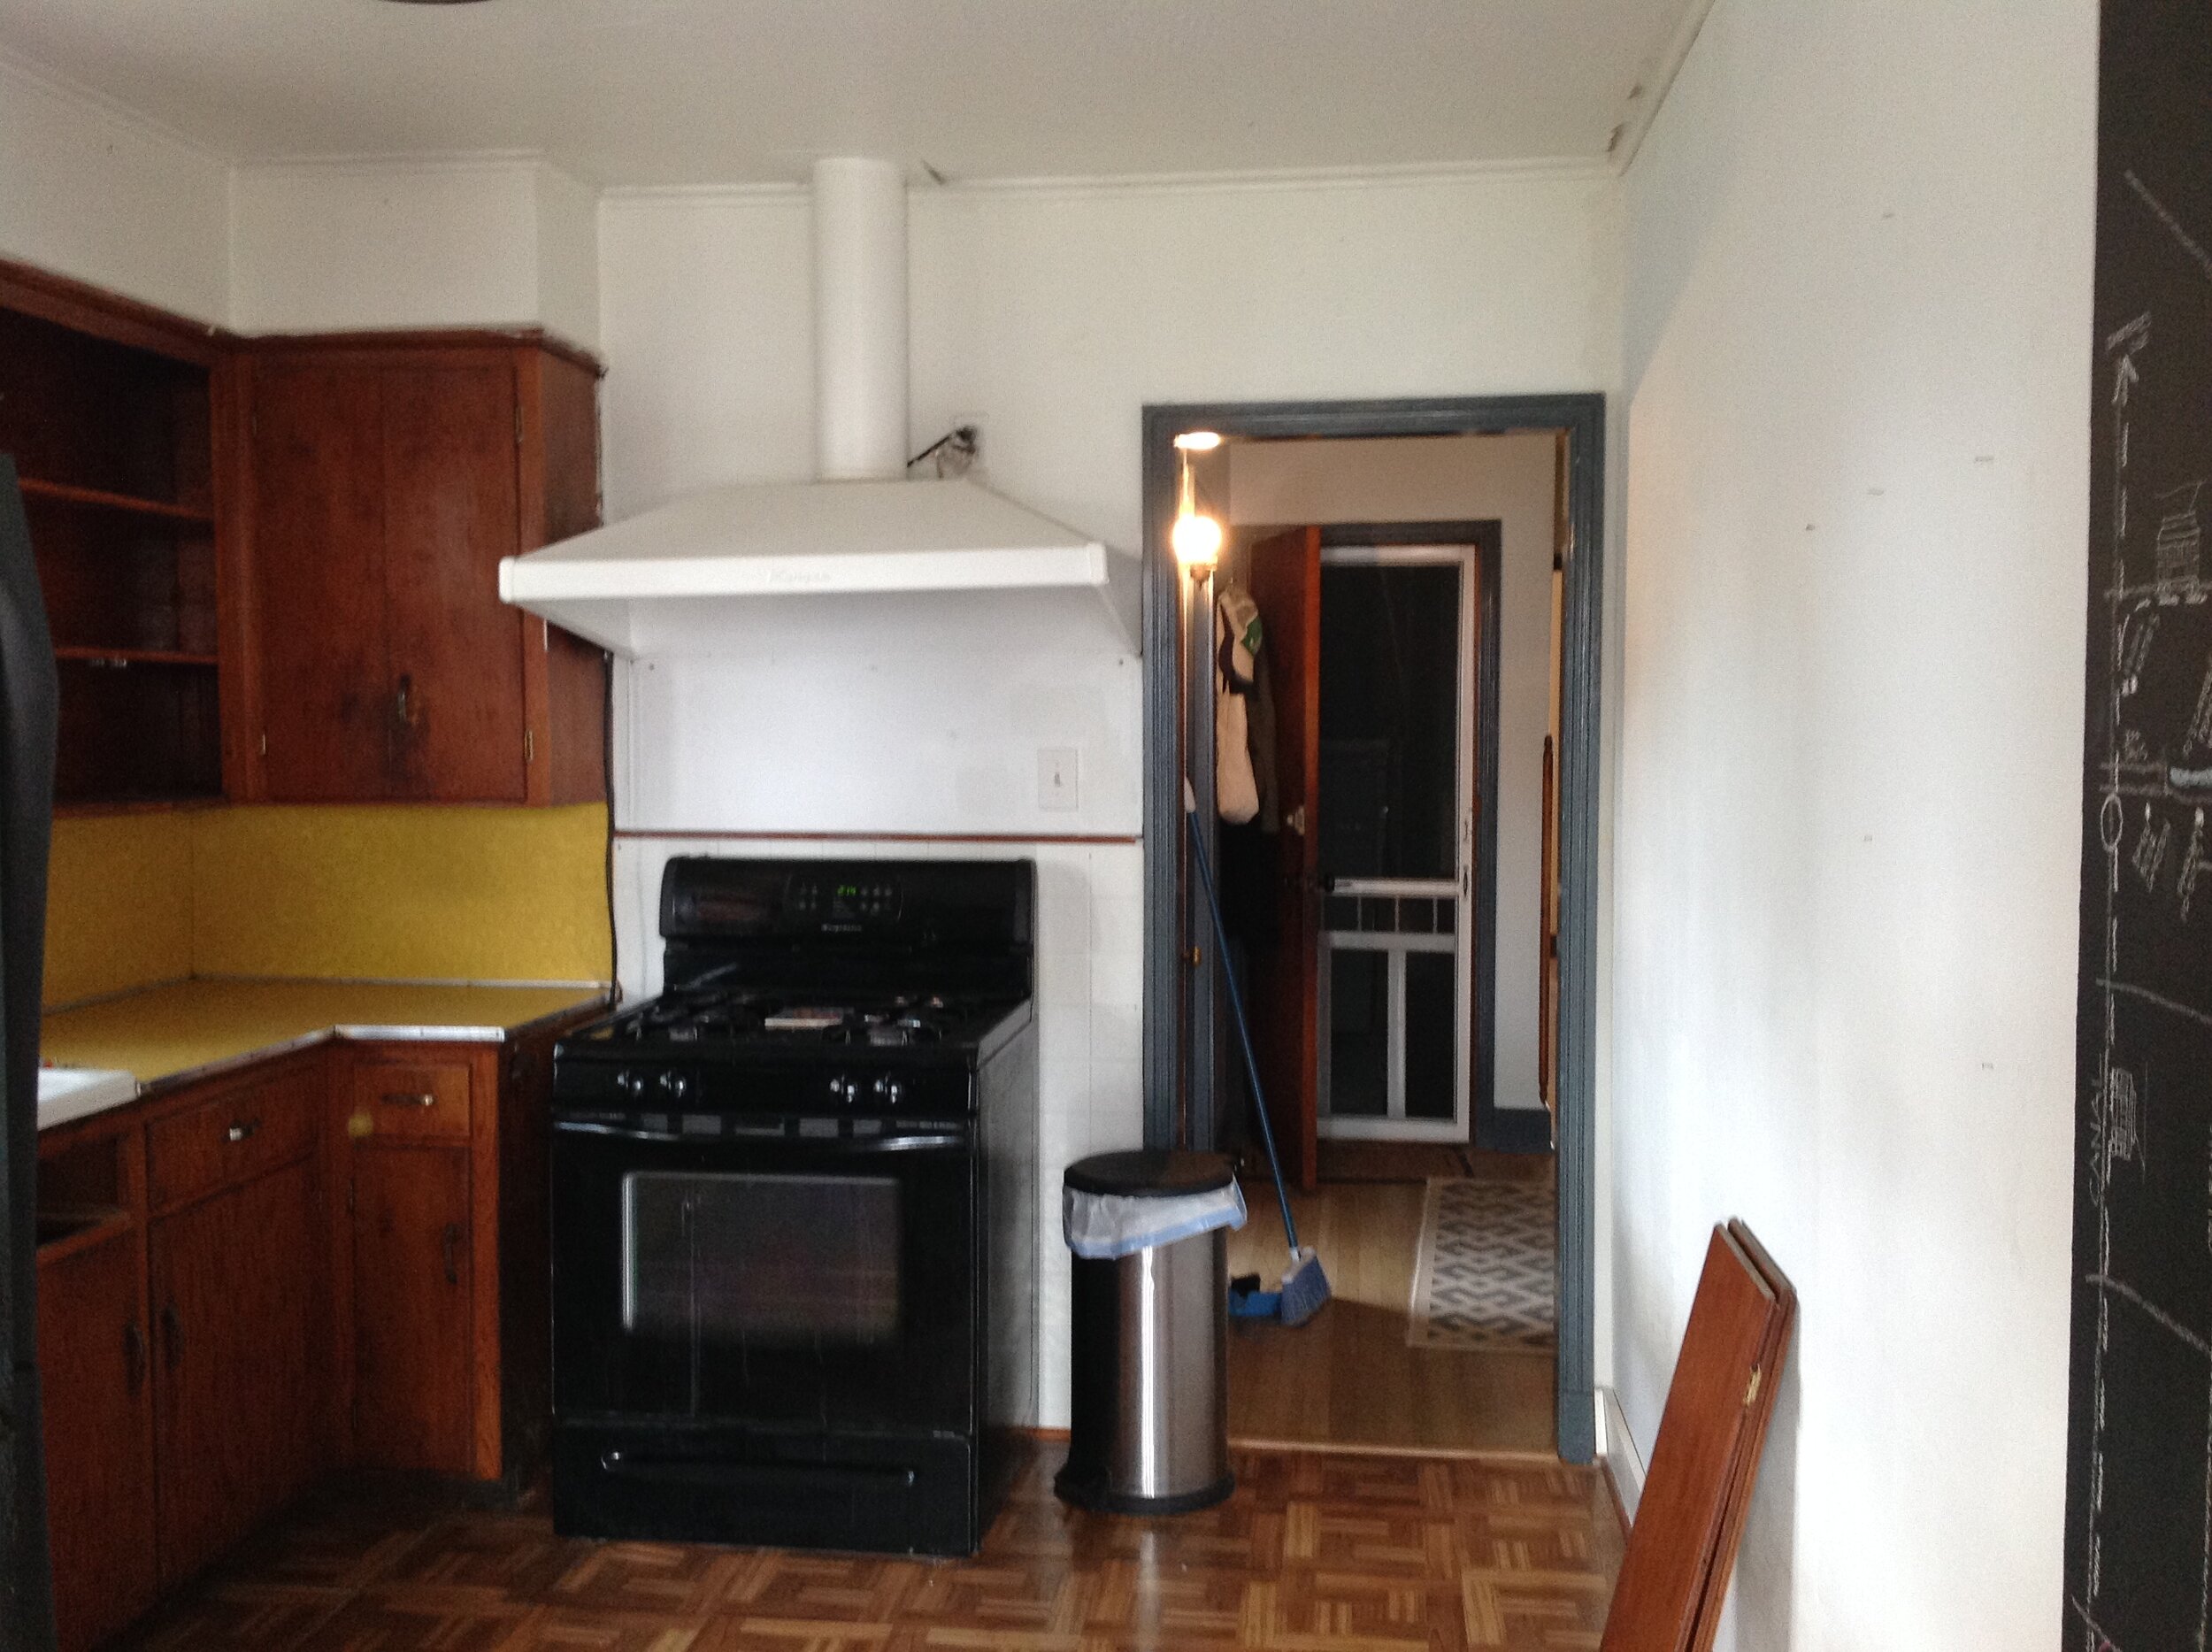
BEFORE
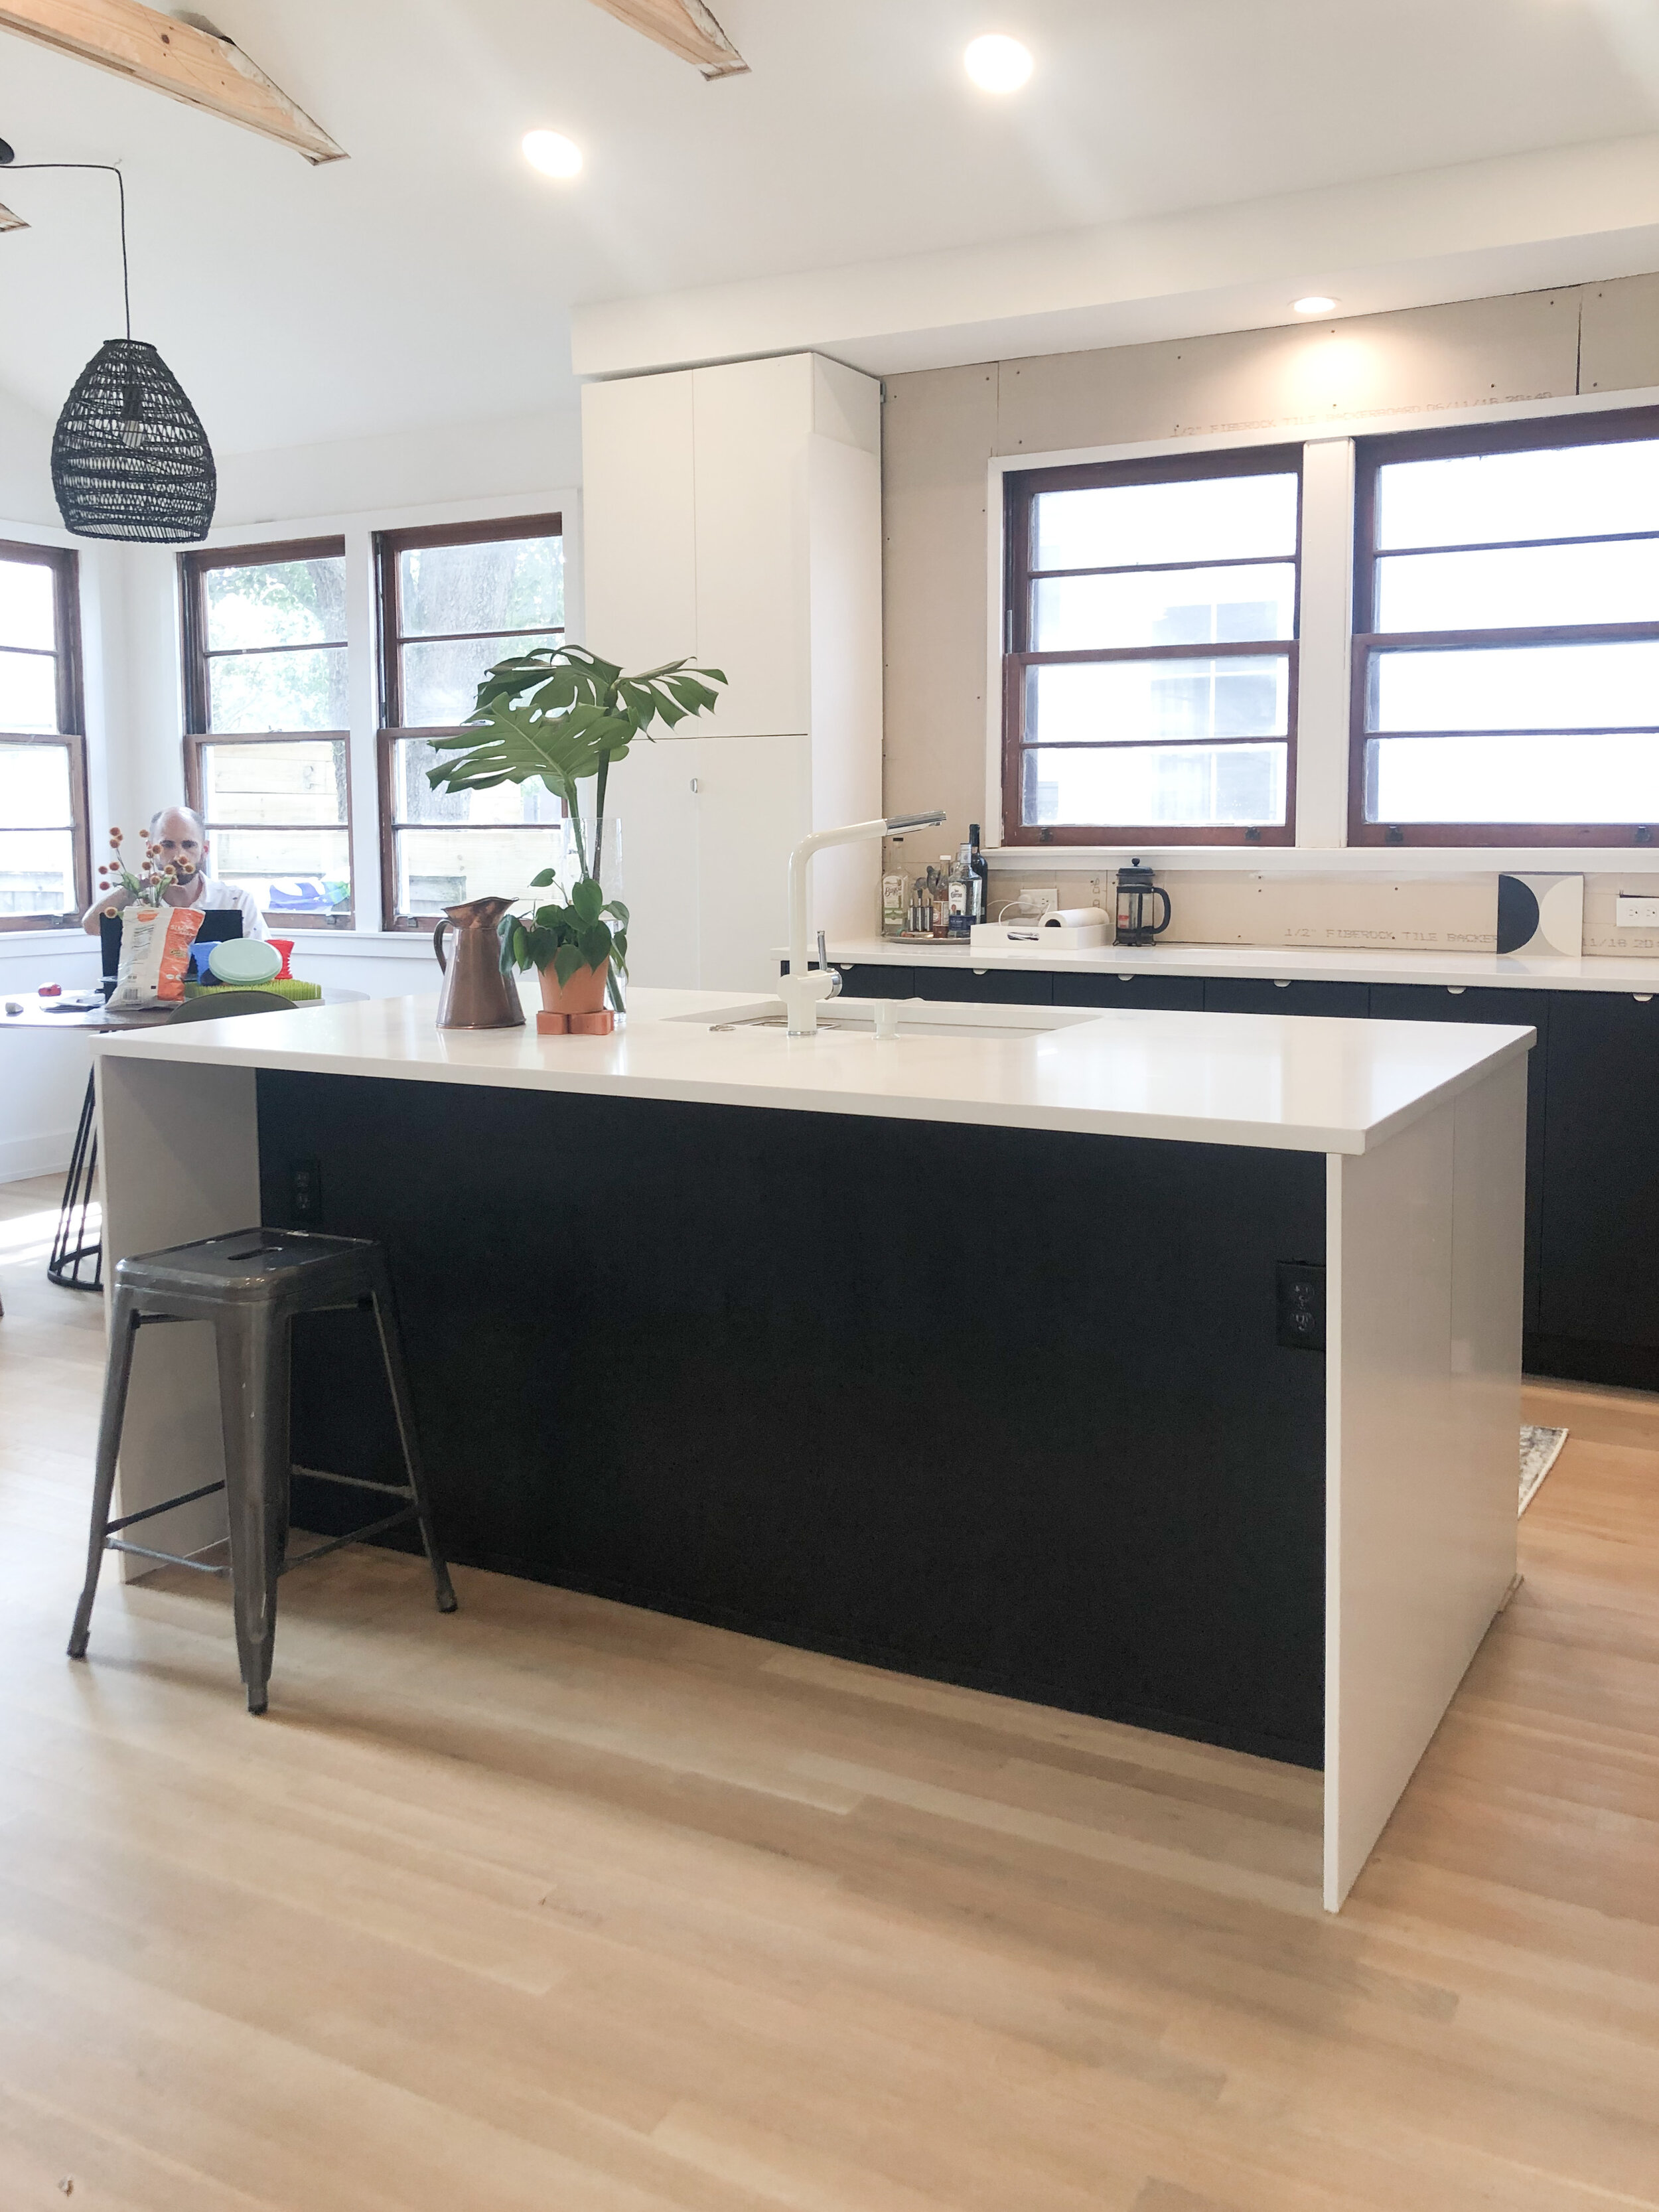
ALMOST AFTER, we removed the wall where the old refrigerator is sitting

BEFORE

ALMOST AFTER, not the same angle but a nice shot. I’m proud of the flush, modern look of my cabinets- Did I mention I put those suckers together myself!
BEFORE

ALMOST AFTER, We integrated the dishwasher with an IKEA panel, because we are architects and that’s what we do!
Step 1: Assembling the Cabinet Boxes
When I refer to the “cabinet box”, this is the internal part of the cabinet that is not seen from the outside (unless the door is open obviously).
Assembling the IKEA cabinet boxes was not hard at all. After studying the instruction booklet and slowly assembling the first cabinet box, I flew through the remaining boxes (flew = 1 and 1/2 days). I did have 17 boxes to assemble at about a half hour per box.
Note: Do not just glance at the instruction booklet, really study the details and do not skip one single step. Depending on which way you want the door to operate, you may need to jump to a different section of the instruction booklet.

Read the directions! If this is the only piece of information you take away from this blog post, I have just saved you a lot of headache. You’re welcome!

In Progress: assembling 17 cabinet boxes. I worked on the assembling the cabinet boxes while Ben finished up some exterior work.
Step 2: Wall Attachment
Getting the boxes secured to the wall was a chore. When renovating an old house, walls are not perfectly straight making this task very hard for us. We had to shim the suspension rails out from the wall and keep adjusting the leg height to get a row of cabinets completely flush and level.
The little black plastic feet that are supposed to attach to the bottom of the box were a thorn in my side. They do not stick to the underside of cabinet boxes, so should you need to adjust the placement of the cabinet, you really need one person under the cabinet box making sure the feet do not fall out while the other person lifts and moves the box. Sliding the box into place is not really an option.
I give this part of the project an 8 out 10 on the frustration meter!

Hanging cabinet boxes on the wall.

More progress photos
Step 3: Creating the Island
For this part, I would definitely recommend hiring a contractor or finish carpenter. Let me elaborate…
Minimalist design, because it looks simple in the end, can deceive you in thinking that it is easier. IT IS NOT EASY! It is the opposite of EASY! Yes I am yelling! The tolerances are so much tighter than traditional design.
What does this mean?
With traditional design, the island side panels or legs sit within the counter top allowing for a small overhang. Should the cabinets boxes be 1/8” or 1/4” out of plumb, this irregularity is disguised by the counter top overhang.
With minimalist design where counter top edges sit directly on side panels or legs, you cannot be out of plumb, even by 1/32”. Speaking from experience, this is where amateur carpenters fail. It is very easy to find yourself not plumb with renovations because walls are not perfectly perpendicular to each other. When setting the island in the center of a room, you must use your walls to determine that location. This is the exact reason we were having such trouble making our island perfectly square.
Note: Once you have the cabinet box in it’s final resting place, secure it to the ground with an angle clip. If you do not secure it, it can nudge out of plumb very easily.
Note: Make sure you convey your design intent to your Counter Top supplier. They will automatically give you a 1” overhang from the face of the cabinet to account for the door/drawer. If you are looking for a waterfall look with 0” overhang on the sides, your cabinet boxes must be perfectly laid out.

We wanted a waterfall look for the side panels meaning 0” overhangs

This is an example of a traditional island where the side panels may not go down to the floor and the overhangs are 1”-2”.
Step 4: Install the Doors and Drawers
The doors were easy. No issues here. The drawers took a bit more time and attention to detail. I give this part a 6 out of 10 on the frustration meter, only due to the drawer hardware! It felt great finally getting the doors, drawers and decorative hardware on. At least if I squint, the kitchen looks almost finished!
Remaining Steps: Fillers and Side Panels
With our busy schedule, this has still not been done. See: “almost after” photos!
Below are some projects we are working on, where we specified IKEA cabinets with Custom Door Fronts/Drawers to give the basic cabinets an upgraded look!
#PrytaniaTownhouses
IKEA does not offer a (paint-ready) primed door, so you have to source this from another company. Semihandmade, along with some other companies, offer door and drawer solutions with IKEA’s dimensions and fittings for the hardware. For this multi-family project, the Semihandmade doors gave us the opportunity to paint the cabinets a custom color of our choosing. We designed four different apartments with four different color cabinetry.

ALMOST AFTER: Semihandmade with IKEA cabinet box painted Benjamin Moore Hale Navy

ALMOST AFTER: Semihandmade with IKEA cabinet box painted Farrow & Ball Railings
#ChippewaRenovation
This is another project where we are using IKEA cabinets with a custom door and drawer counterpart. Here we are using Reform, a UK company with some really beautiful products. The owners selected a dark oak wood with beautiful grain and texture for the face of the cabinets, complimented by brass hardware.

In Progress: setting the IKEA boxes and starting the door install

ALMOST AFTER: IKEA Cabinet boxes with Reform Oak Doors
I could tell that the carpenter on the project really knew what he was doing because the island was built beautifully and we did not have any issues with aligning our cabinet boxes and minimal counter top overhangs. I wish he would finish my kitchen for me :)
In conclusion, if you are up for the challenge, you can totally DIY a kitchen. I would definitely plan ahead and not skip any steps! I’ll update the blog once the kitchen is completely finished with filler panels, side panels and backsplash.